Set your Default Printer in Windows 10
In Windows, you can change your Default Printer in two locations:
Windows Settings
1. Click
Start:
2. Click
Settings:
3. Click
Devices:
4. Click
Printers & Scanners
5. Choose the printer you want to be your default by clicking it in the list, then select
Manage:
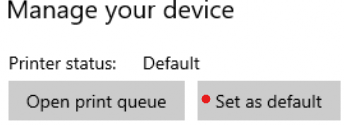
6. Click
Set as Default:
Control Panel
1. Click Start:
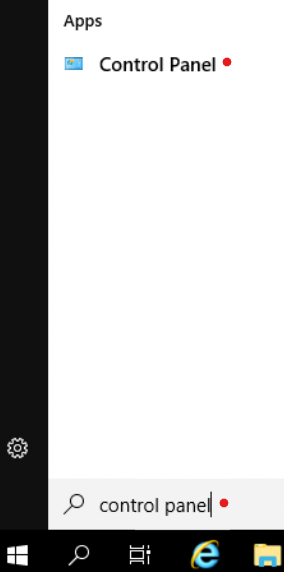
2. Type control panel, then Click Control Panel under the Apps heading:
3. Click
View Devices and Printers under the Hardware Section:
4. Right-Click the printer that should be your default and choose Set as Default Printer:

You may be prompted that Windows will no longer manage printers for your device. This means Windows won't automatically select a printer based on which printer you used last.